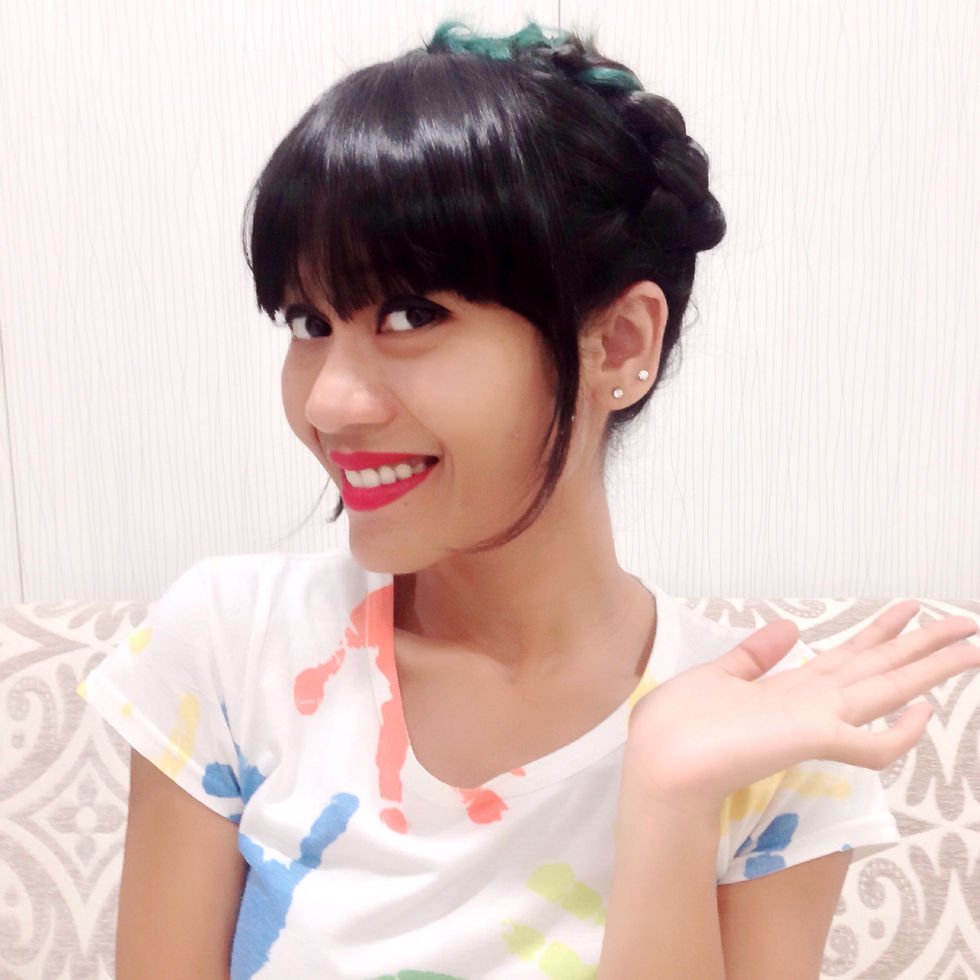
HAIR DIY: Heidi Braid's
- Elizabeth
- Jun 10, 2015
- 2 min read
Heidi braids, also referred to as Milkmaid braids, Crown braids or even the Goddess braid is my no.1 quick and easy, go-to hair style. It my favourite way to disguise a bad hair day. On a hot day, I resort to this charming braiding technique to keep my hair away from my neck and face. Most people are easily intimidated by the intricacy of the Heidi braid but as I learnt, not too long ago, it’s actually very simple. All you need are a few bobby pins, a comb and the ability to tie your hair in school girl braids.

Things you need: A bunch of bobby pins and a comb

Step 01: Part your hair straight down the middle using a comb. Be sure to evenly part your hair.

Step 02: After evenly parting your hair in two sections, start with any one side. Each braid should start right above your ears so that the direction of the braid, while being pinned, sits right on your crown.

Step 03: Start braiding section #01 all the way till the end.

Step 04: Hold Braid #01 by its end and wrap it around the top of your head. Then fasten the end of the braid to the crown of your head with a bobby or two.

Step 05: Repeat Step 02 and Step 03 to section #02 of your hair.

Step 06: Hold Braid #02 by its end and wrap it around the top of your head while crossing it over Braid #01. Then fasten the end of the braid to the crown of your head with a bobby or two.

Step 07: Secure both braids in place and start pinning down stray hairs into the braids using spare bobby pins. Use as many bobby pins as required.

There you have it, perfect Heidi braids in only a few minutes! So the next time you have a bad hair day don’t fret! Just wrap your hair in braids and you’re good to go!


Comments